
How Do I Convert an Animated GIF to Game Frame?
UPDATE: Use my GFX2GF script posted in the forum! Or if you prefer the tedious, manual route….
These are many tools on all platforms, but here are some instructions for Photoshop on the PC to get you started. It assumes the animated GIF is 16×16 pixels.
Step 1) Extract the frames of your animated GIF using an online exploder like BlogGif. (Choose the option to download all frames in a ZIP file, if available.)
Step 2) Save your extracted frames into a new folder on your computer.
Step 3) In Photoshop, choose File -> Scripts -> Load Files into Stack. Click Browse, select all of the frames, and click OK. Click OK again. Your frames should load into stacked layers of a Photoshop file.
Step 4) Click the Window menu at the top of the screen, and make sure Animation has a check next to it.
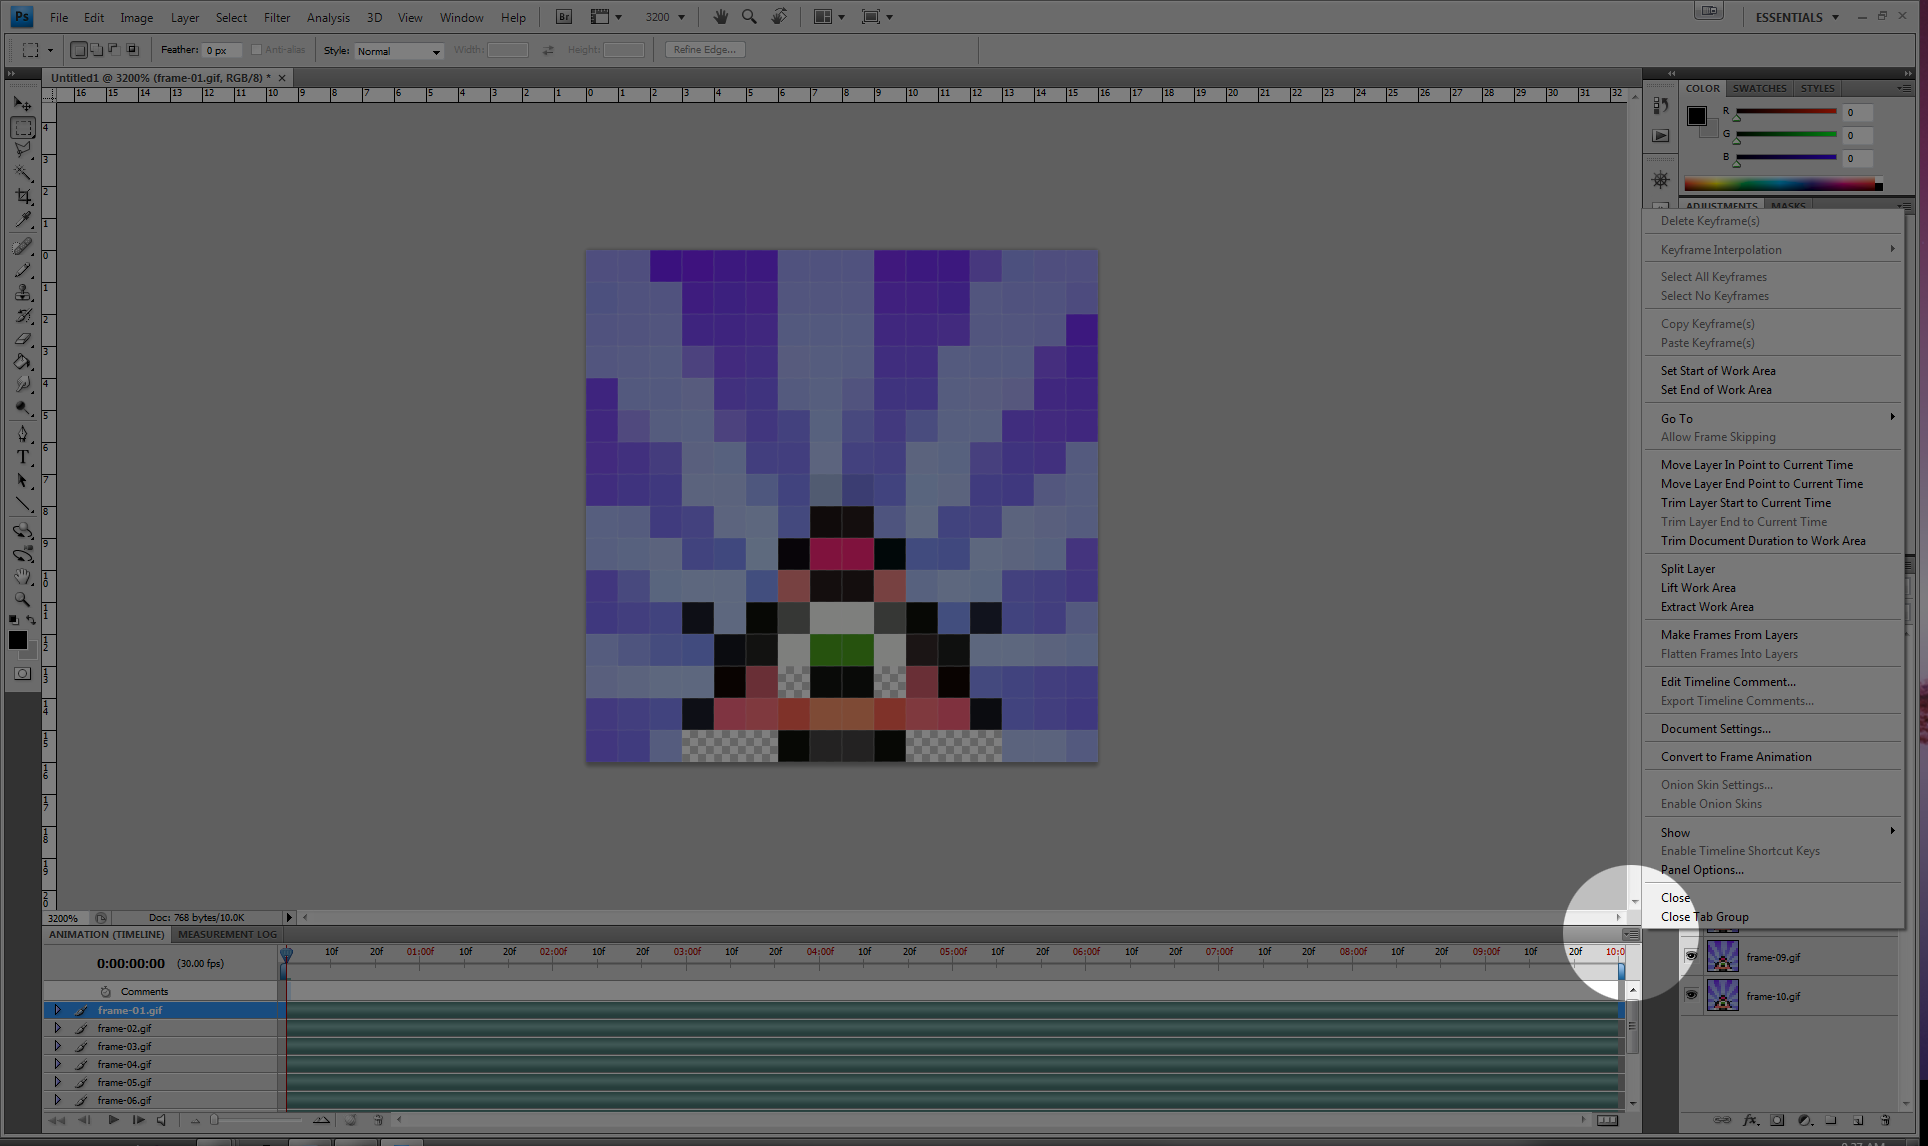
Step 5) Click the small Animation command menu button, and choose Make Frames From Layers.
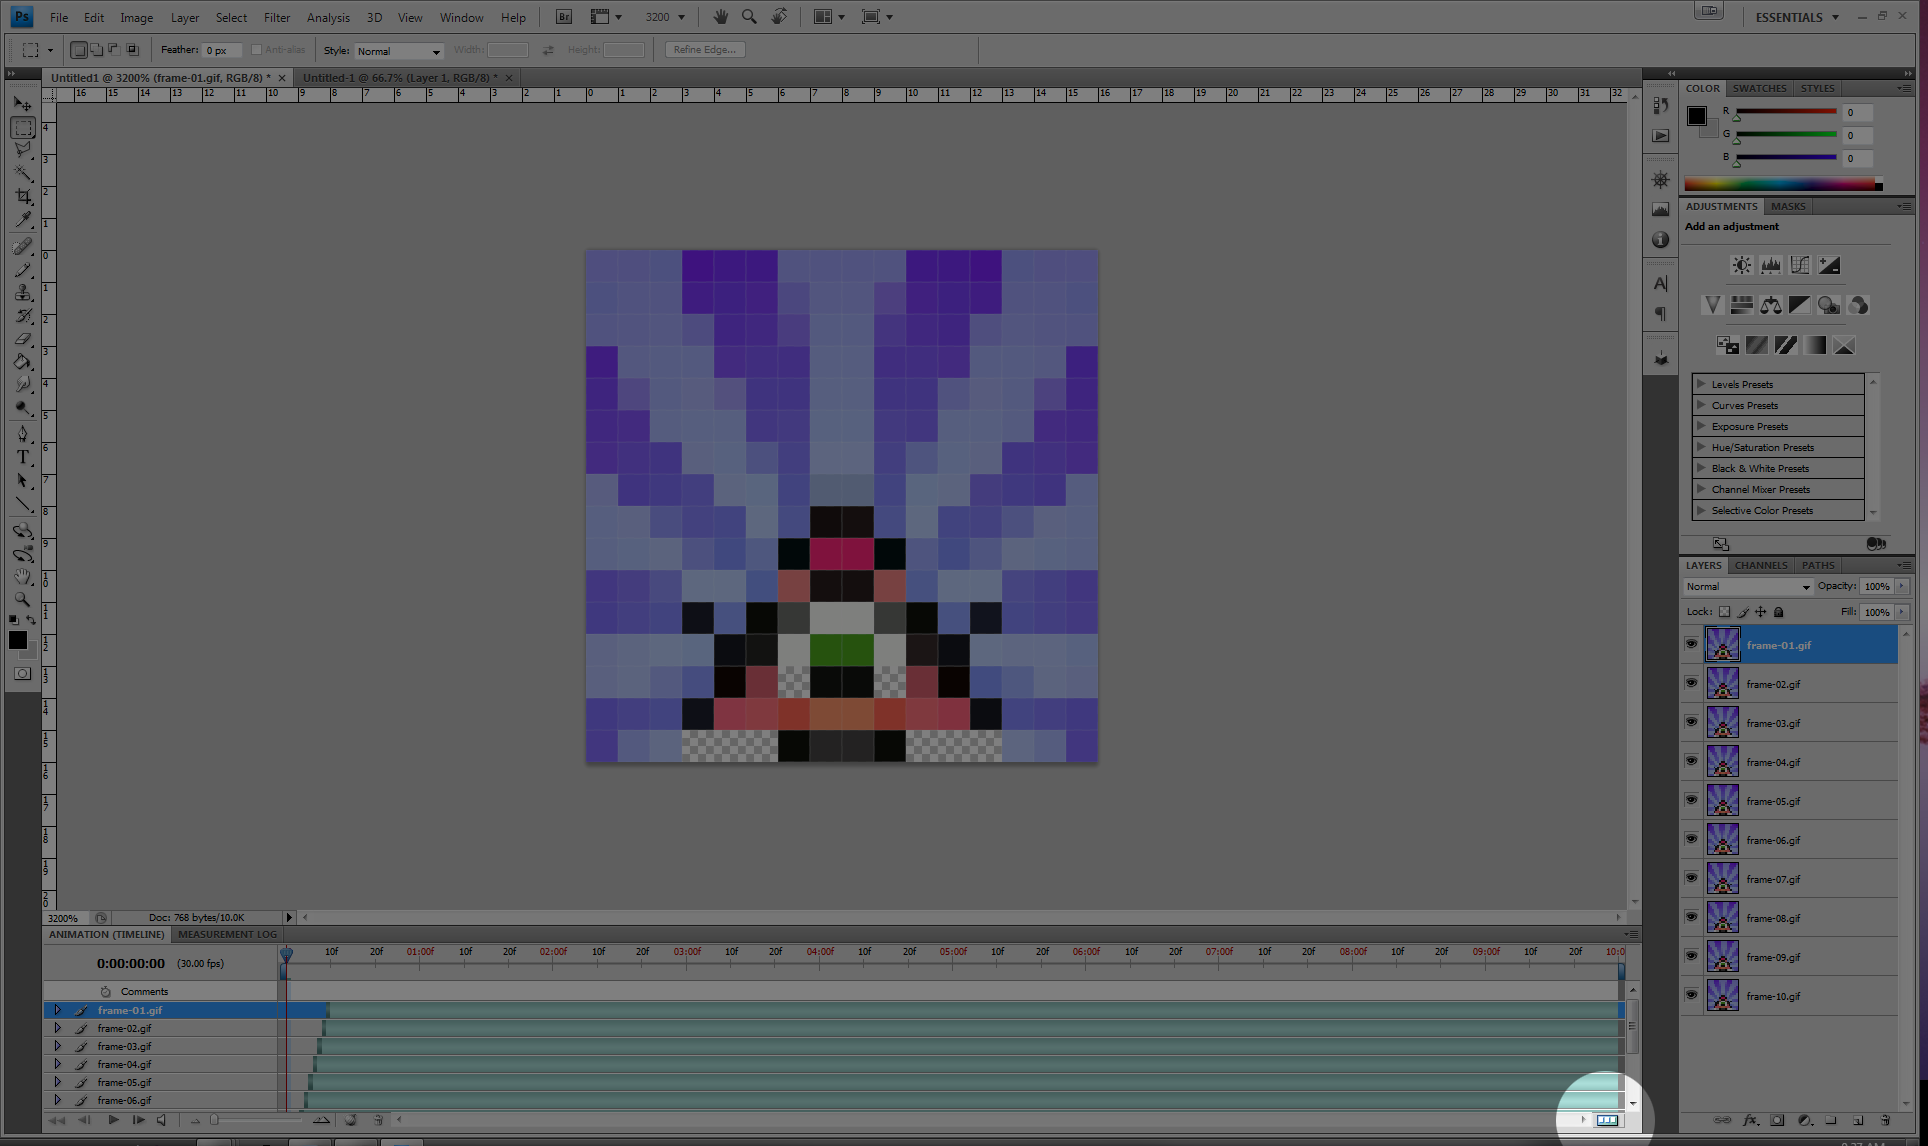
Step 6) Convert to Frame Animation Mode by clicking the little symbol in the lower right.
Step 7) Click the command menu button and choose Reverse Frames.
Step 8) Click the command menu button and choose Select All Frames.
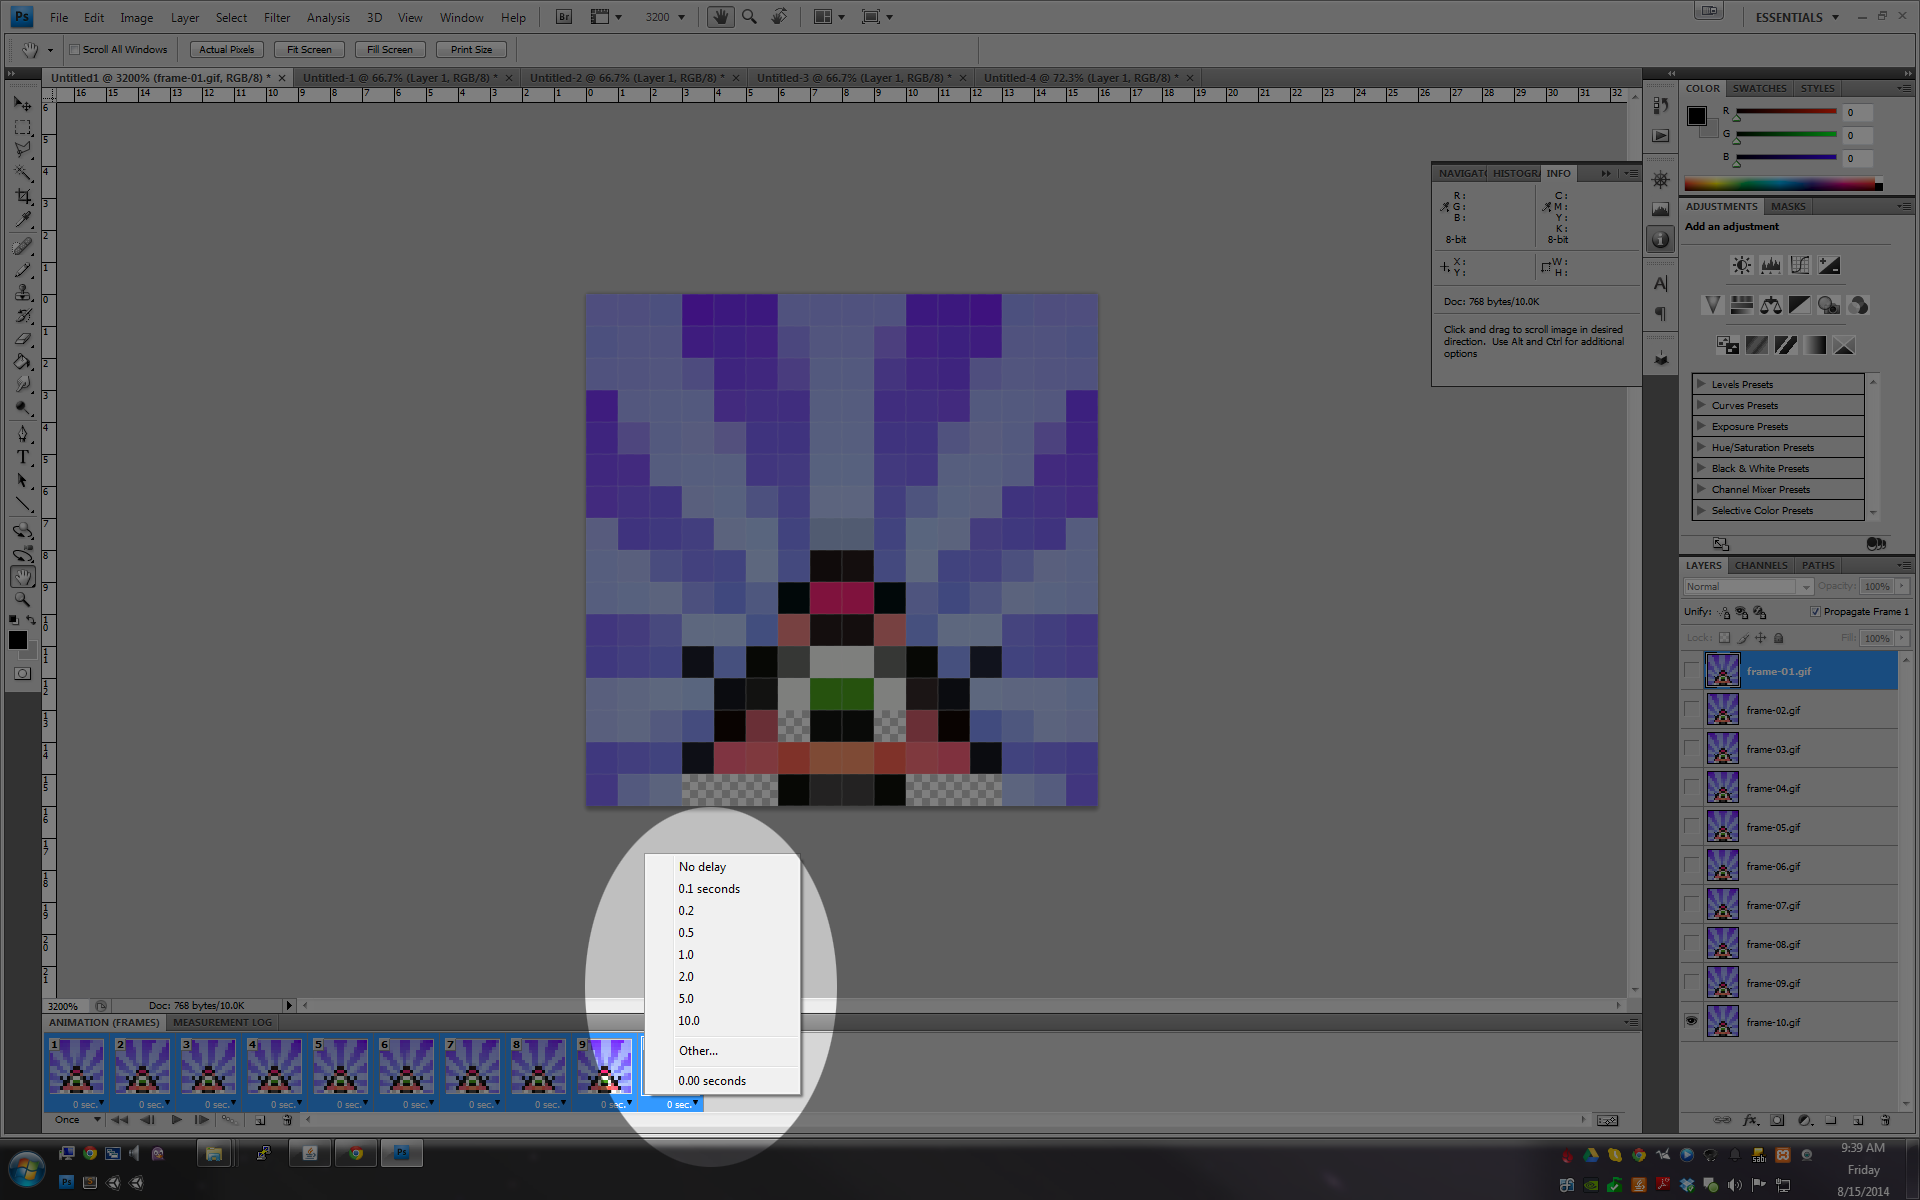
Step 9) Click a time delay drop-down menu on one of your frames and choose No Delay.
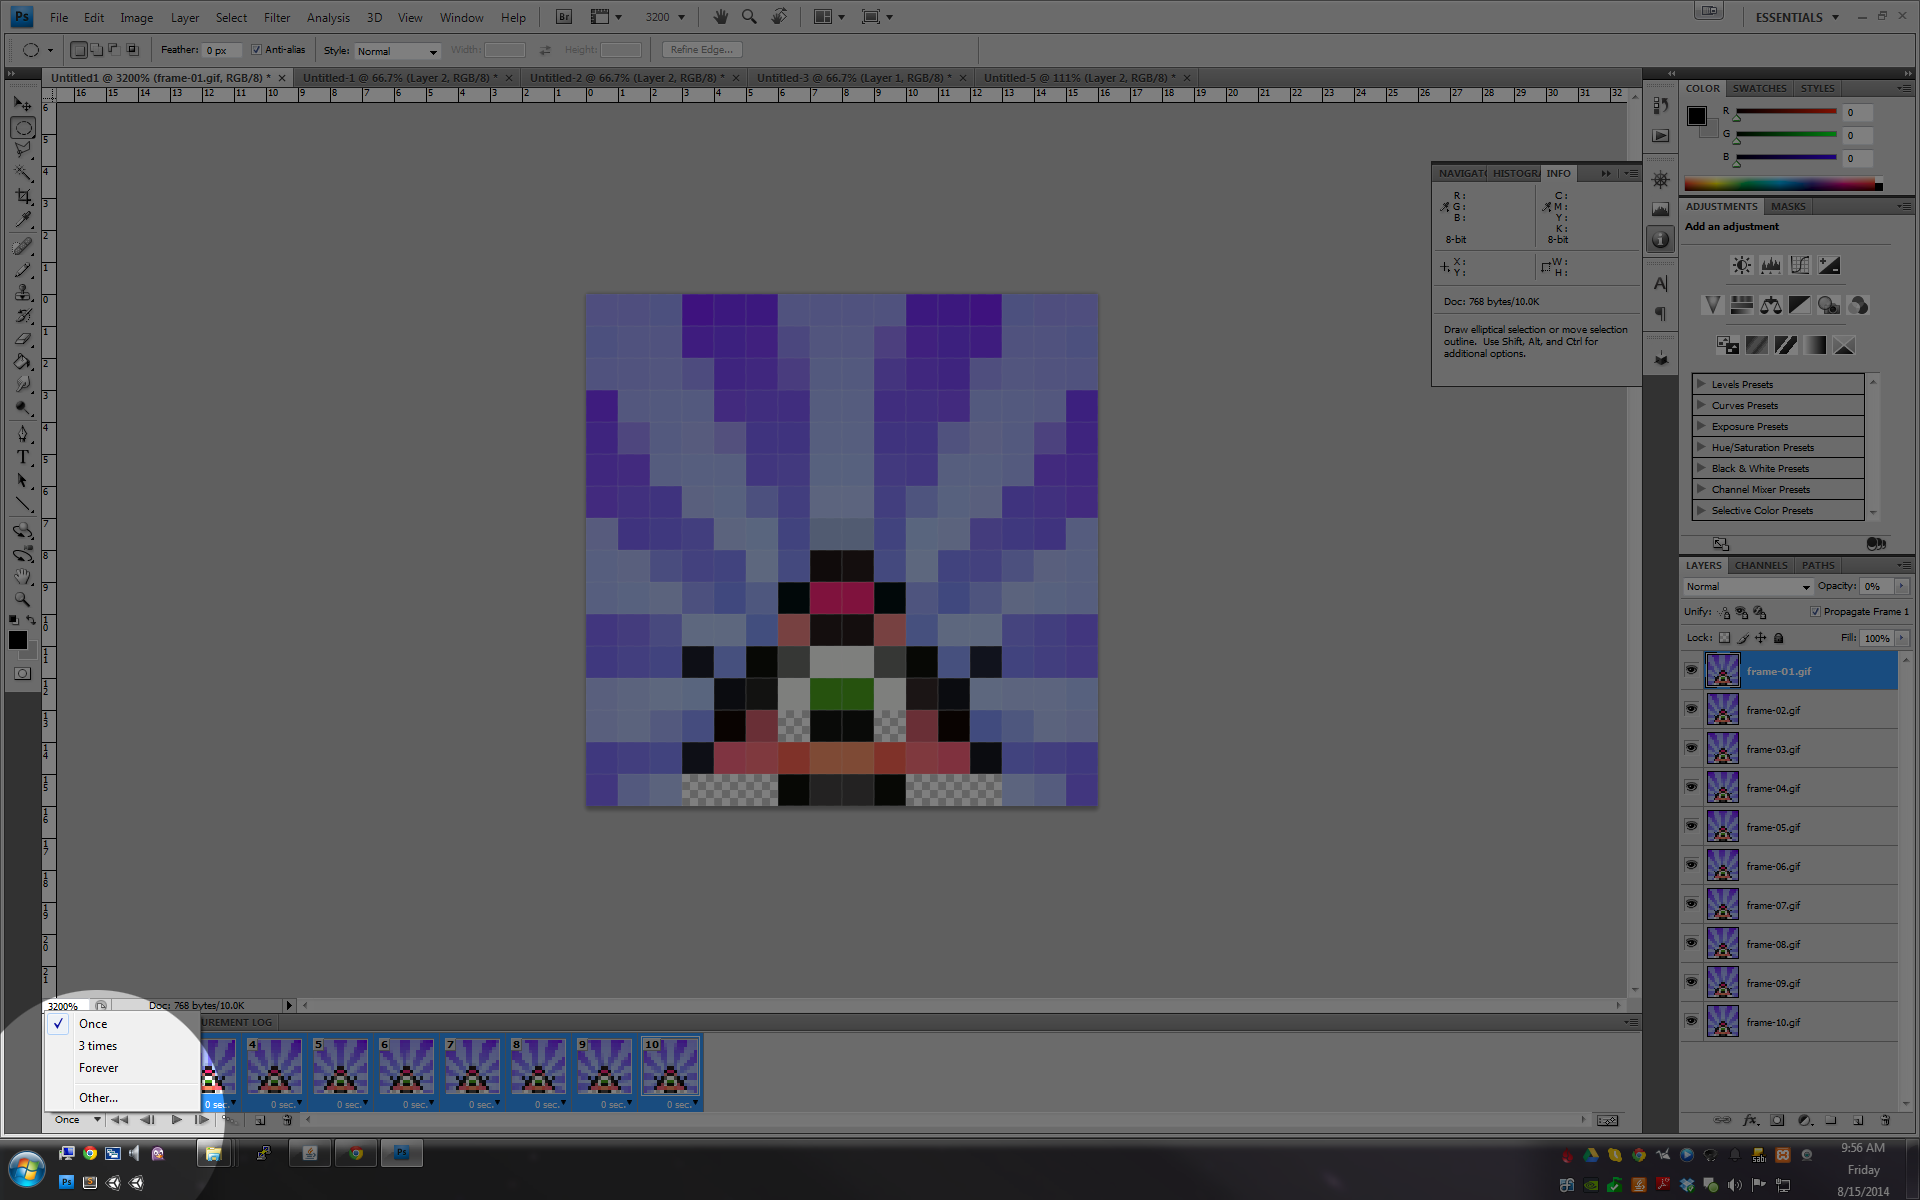
Step 10) Select the looping options drop-down menu and choose Forever.
Step 11) Click the Play button near the looping options to preview your animation, but don’t worry about frame rate yet.
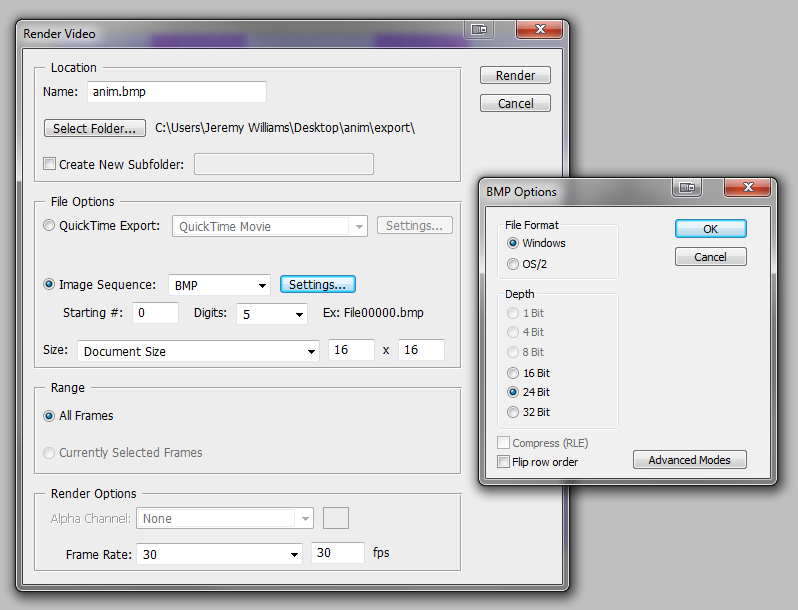
Step 12) Choose File -> Export -> Render Video. Set the location you want to save at the top (the filename doesn’t matter), and then configure the rest of the window according to this screenshot, making sure to click “Settings…” and select 24 Bit.
Step 13) Click Render.
Step 14) Save this Windows batch file to your render folder and run it. It will rename your files appropriately for Game Frame.
Step 15) Copy your render folder to your Game Frame and enjoy! Optionally include a CONFIG.INI file if you want to adjust the frame rate.