Command Function Arguments

If you’re running the Wi-Fi Adapter you can control most aspects of Game Frame using the exposed “Command” function. Below is a list of the available commands and the arguments each one accepts.

Next (Advances to next animation.)
Example: next

Brightness (Adjust brightness level)
Arguments: 0-7
Example: brightness 4

Power (Turn Game Frame on/off)
Arguments: on, off, none (toggles)
Example: power off

Play (Play animation)
Arguments: path/folder
Example: play bird

Alert (Play alert)
Arguments: path/folder
Example: alert 00system/wifi/twitter

Color (Display solid color)
Arguments: hex code, random
Example: color #FF8000
Example: color random

Clockface (Change clock face)
Arguments: 1-5
Example: clockface 2

Timezone (Change time zone)
Arguments: Offset from UTC in hours, from -12.0 to 13.0
Example: timezone -8

Playback (Change playback mode)
Arguments: 0 = sequential, 1 = random, 2 = pause animations
Example: playback 1

Display (Change mode)
Arguments: 0 = gallery, 1 = clock, 2 = effects
Example: display 1

Cycle (Change animation duration)
Arguments: 1 = ten seconds, 2 = thirty seconds, 3 = one minute, 4 = five minutues, 5 = fifteen minutes, 6 = thirty minutes, 7 = one hour, 8 = infinity
Example: cycle 7

Reboot (Restarts Game Frame.)
Example: reboot

back to top

What tool do you recommend for creating pixel artwork?

Photoshop works fine if you have it, but I also recommend trying Asperite, a tool made from the ground up for pixel art creation. There are versions available for all platforms, and it can output stills or animations ready to drop onto the Game Frame.

back to top

How do I change the firmware?

GAME FRAME:

  1. Download the desired firmware .HEX file from GitHub.
  2. Download the Teensy Loader for your operating system from PJRC.
  3. Connect your Game Frame using a USB micro cable.
  4. Launch the Teensy Loader program, and click Operation -> Automatic Mode.
  5. Click File -> Open HEX File, and select the previously downloaded HEX file.
  6. Press the “Program Mode” button on the Teensy. Your board should flash and your Game Frame should reboot. Done!

KICKSTARTER EDITION:

To change the Game Frame firmware, such as between Game or Clock software, you’ll need to program the PCB as though it was an Arduino Uno. First, grab the source code from GitHub. Then you’ll need the Arduino IDE (development environment) version 1.0.1, which you can download for Windows or OS X on the official previous versions page. Additionally, you’ll need a 5 Volt USB to FTDI cable or adapter (I use this one) to perform the actual programming. (When connecting the cable, note the wire color markers on the PCB — green on one end, black on the other.) You’ll also probably need to install FTDI drivers.

Thankfully, the above steps are all a one-time thing, and once you’re up and running swapping firmware is a breeze. Just connect the cable to your Game Frame, load the firmware into the Arduino IDE, and choose Arduino Uno from the Tools -> Board dropdown menu, along with the appropriate Serial Port. Hit the Upload button, and wait for the magic to finish.

For questions regarding these steps, feel free to ask around in the forum.

back to top

What are the pinout mappings? (XPAND, FTDI, ISP)

XPAND:

Starting with Pin 1 and moving counter-clockwise:

  • 5V+
  • PC0 (ADC0/PCINT8)
  • PC2 (ADC2/PCINT10)
  • PC4 (ADC4/SDA/PCINT12)
  • PC5 (ADC5/SCL/PCINT13)
  • PC3 (ADC3/PCINT11)
  • PC1 (ADC1/PCINT9)
  • GND


FTDI:

Left to right, starting with the pin marked GRN:

  • PC6 (Reset/PCINT14)
  • PD1 (TXD/PCINT17)
  • PD0 (RXD/PCINT16)
  • 5v+
  • GND
  • GND


ISP:

Starting with Pin 1 and moving counter-clockwise:

  • PB4 (MISO/PCINT4)
  • PB5 (SCK/PCINT5)
  • PC6 (RESET/PCINT14)
  • GND
  • PB3 (MOSI/OC2A/PCINT3)
  • 5V+
back to top

How Do I Convert an Animated GIF to Game Frame?

UPDATE: Use my GFX2GF script posted in the forum! Or if you prefer the tedious, manual route….

These are many tools on all platforms, but here are some instructions for Photoshop on the PC to get you started. It assumes the animated GIF is 16×16 pixels.

Step 1) Extract the frames of your animated GIF using an online exploder like BlogGif. (Choose the option to download all frames in a ZIP file, if available.)

Step 2) Save your extracted frames into a new folder on your computer.

Step 3) In Photoshop, choose File -> Scripts -> Load Files into Stack. Click Browse, select all of the frames, and click OK. Click OK again. Your frames should load into stacked layers of a Photoshop file.

Step 4) Click the Window menu at the top of the screen, and make sure Animation has a check next to it.

Step 5) Click the small Animation command menu button, and choose Make Frames From Layers.

Step 6) Convert to Frame Animation Mode by clicking the little symbol in the lower right.

Step 7) Click the command menu button and choose Reverse Frames.

Step 8) Click the command menu button and choose Select All Frames.

Step 9) Click a time delay drop-down menu on one of your frames and choose No Delay.

Step 10) Select the looping options drop-down menu and choose Forever.

Step 11) Click the Play button near the looping options to preview your animation, but don’t worry about frame rate yet.

Step 12) Choose File -> Export -> Render Video. Set the location you want to save at the top (the filename doesn’t matter), and then configure the rest of the window according to this screenshot, making sure to click “Settings…” and select 24 Bit.

Step 13) Click Render.

Step 14) Save this Windows batch file to your render folder and run it. It will rename your files appropriately for Game Frame.

Step 15) Copy your render folder to your Game Frame and enjoy! Optionally include a CONFIG.INI file if you want to adjust the frame rate.

back to top

How do I control the sequence of animations?

There are a few ways to control the sequence of animation folders.

Sequential playback: This is the most basic, but also the most cumbersome. If you set the Game Frame playback mode to sequential, it will play folders based on the order they were written to the microSD card (after a fresh FAT32 format).

Using CONFIG.INI: There is an option in CONFIG.INI called nextfolder. If you set that to the name of another folder on the microSD, it will always play that one next. Note that this setting overrides shuffle playaback mode, and the NEXT button on top of the Game Frame will play assigned animation if pressed.

Numerical Nesting: This is my personal favorite. Instead of filling a folder with BMP images, you fill it with more folders with numerical names, starting with 0 (zero). For example, if you want to create a little Pac-Man drama, you might create the following folders:

/pacman/0 (includes pacman animation)
/pacman/1 (includes ghost animation)
/pacman/2 (includes blue ghost animation)
/pacman/3 (includes pacman going the other direction)

Each of the numerical folders looks just like a standard image folder, and can contain its own CONFIG.INI. The benefit of this method is you’ll never wind up in the middle of a chained series of animations in shuffle mode, and the NEXT button on top of the Game Frame will skip the rest of the folder chain if pressed.

back to top

How does CONFIG.INI work?

If you look at the animations included with Game Frame, you’ll find a CONFIG.INI file in every folder. You can use this file to control many aspects of your animations, outlined below.

Under the [animation] section, the following controls are available:

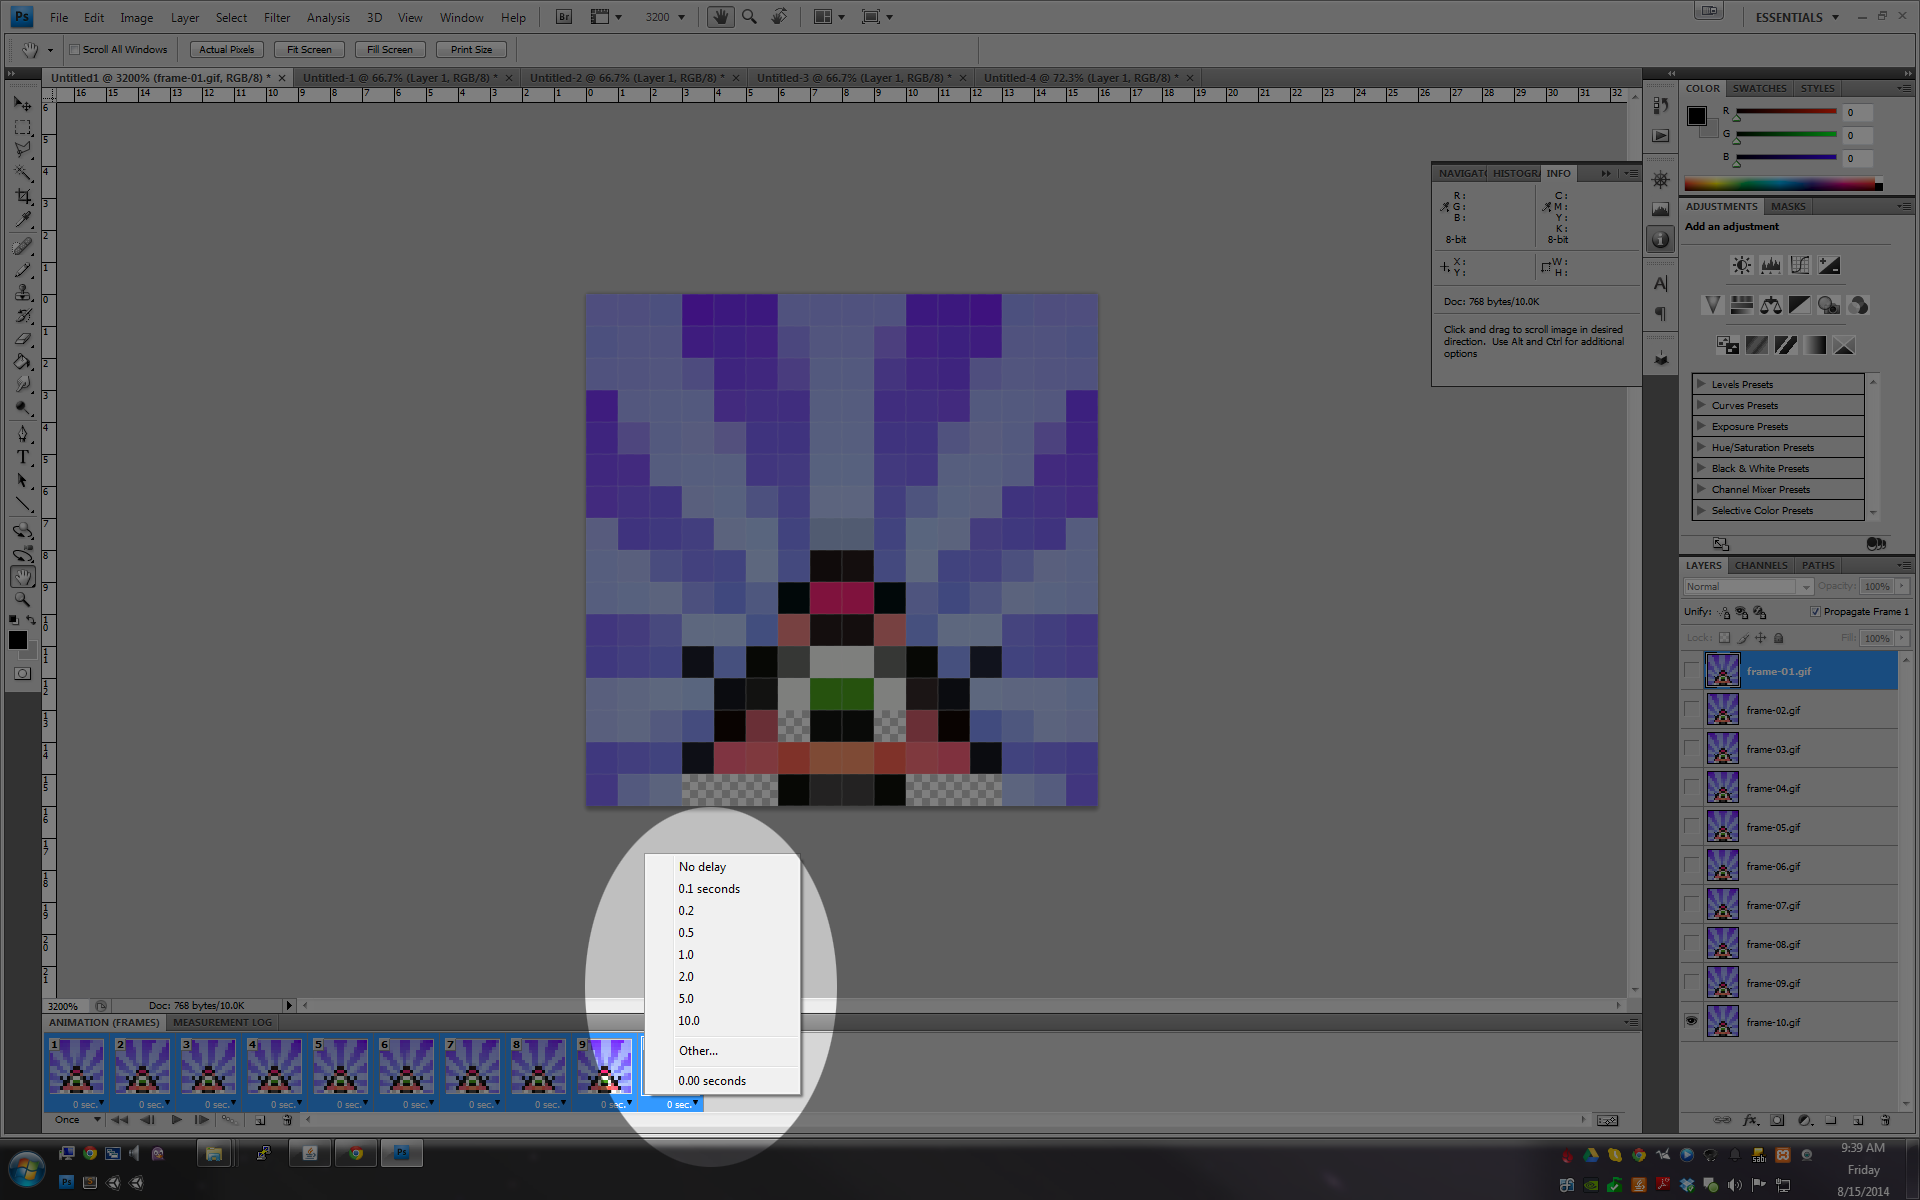
hold: This essentially controls the frame rate. You give it a number  of milliseconds to hold every frame, so if you enter a value of 1000, it will hold every frame for one second before displaying the next one.

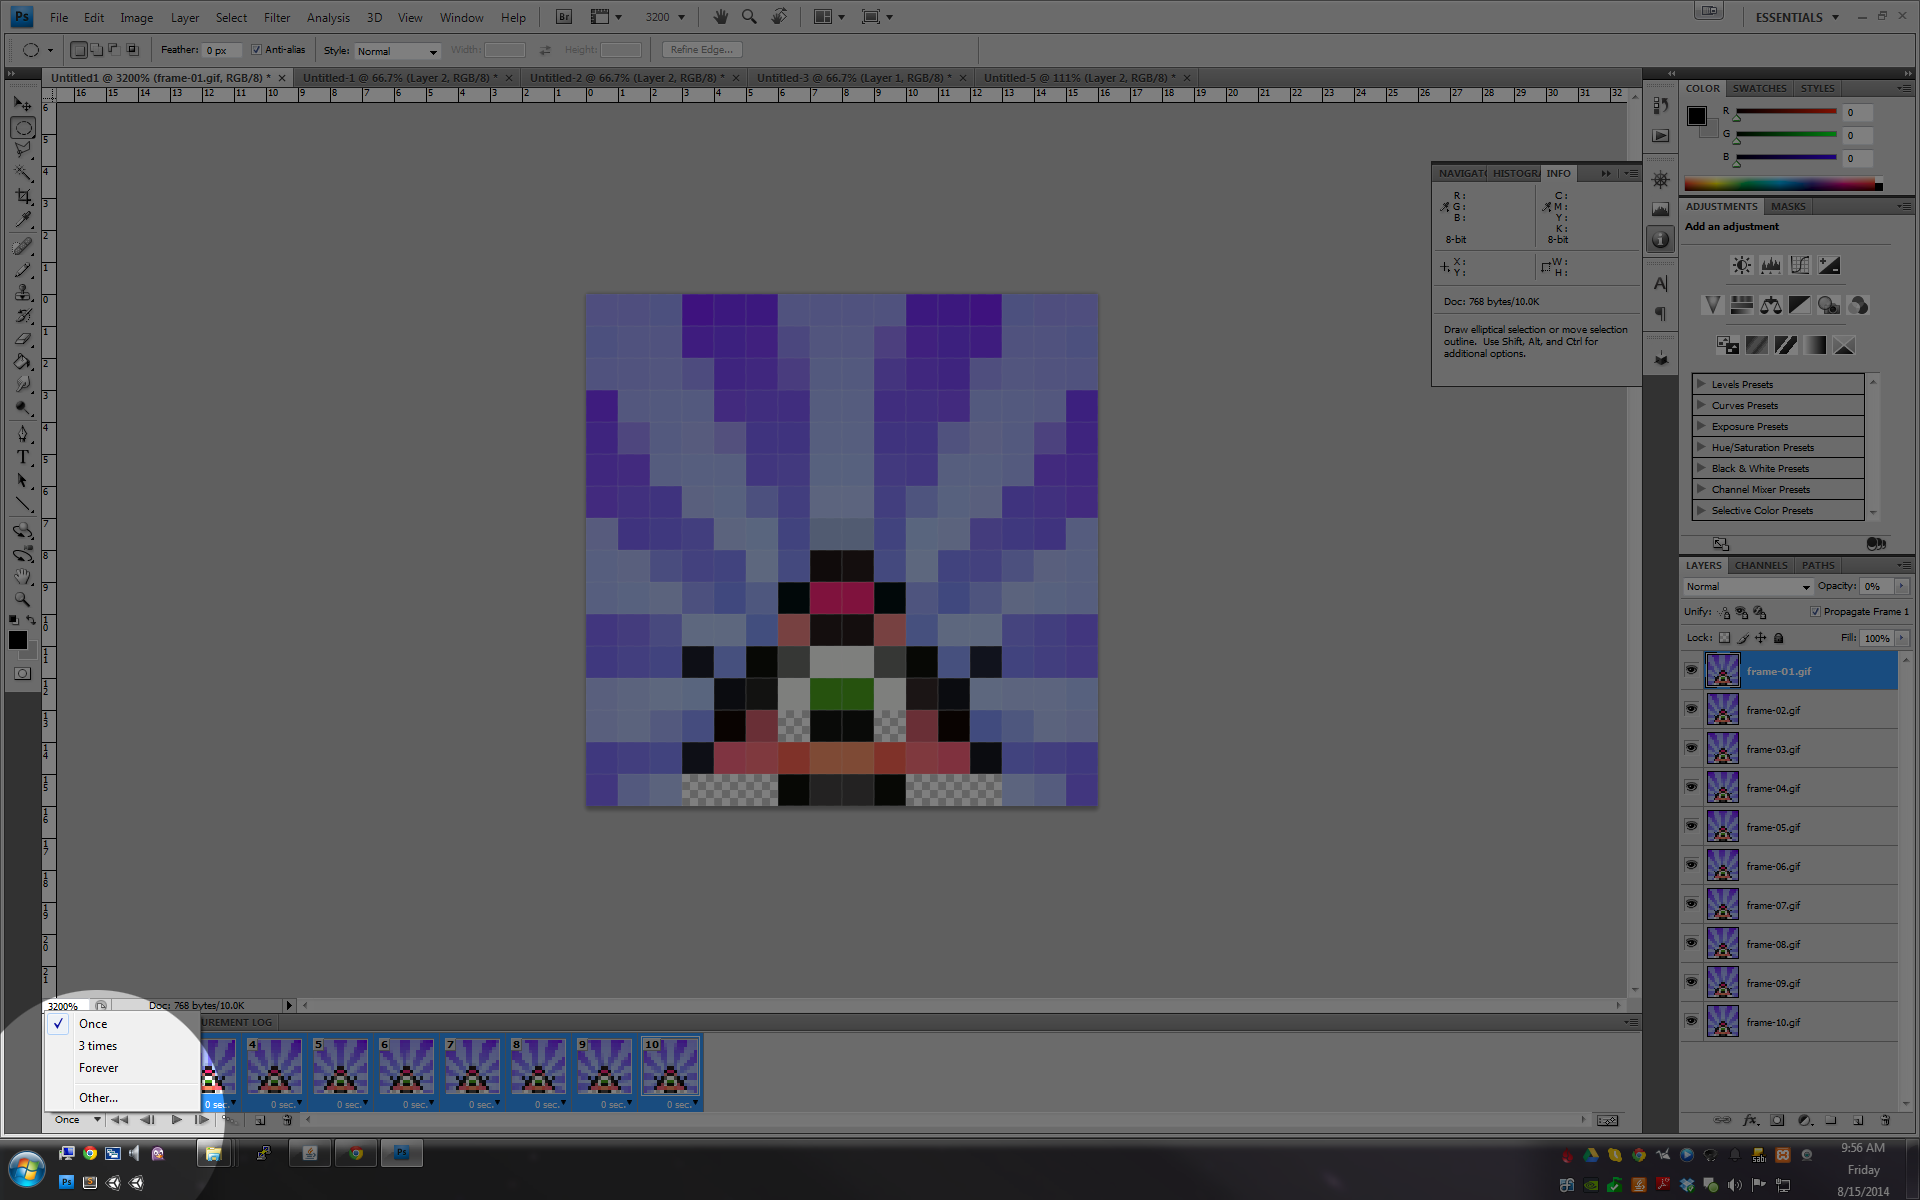
loop: This true/false statement tells the system whether to restart the animation once it reaches the last frame, or progress to the next folder on the microSD card. For instance, if you have a character walk cycle, you’ll want to set this to true, whereas if you have a very long animation with a distinct beginning and end, you might want this set to false.

finish: This true/false statement can instruct the system to finish the animation even if the system duration has elapsed. For example, if you have a long animation, it will play to completion even if the Game Frame is set to cycle animations every 10 seconds.

Under the [translate] section, the following controls are available:

moveX/moveY: This represents the number of pixels your images will be pushed across the screen every frame. You can use positive or negative values, depending on which direction to want to move. Using these controls, you can make simple looping animations (like a short walk cycle) that move across the screen as they would in a game. Note that the system will continue to iterate through your files (e.g. 0.bmp, 1.bmp, 2.bmp, etc.) while moving them across the screen. Also, if your graphics are larger than 16×16, the system will initialize their positions according to your moveX/moveY values so that you can pan across the entire image.

loop: This controls whether the above moveX/moveY scrolling movement should repeat when completed. If set to false, the system will proceed to the next image folder when completed. For instance, if you have a man walk across the screen, you might set this to false so he doesn’t have countless twins following him. However, if you have a taxi cab drive across, perhaps you want this set to true.

panoff: This one is a little weird to explain, but it’s handy. It controls whether the moveX/moveY animation should begin and end its movement off-screen. For example, if you have have a little man who walks right, a panoff value of TRUE will cause him to start off screen to the left, walk on, and keep going off the right side of the screen. Alternatively, if you have a long 256×16 train image that you want to scroll across the screen infinitely, you’d set panoff to FALSE. Just note that when panoff is set to FALSE, the “first” and “last” 16×16 frames of the panning movement should be identical. For example, in the 256×16  train, the left-most 16×16 pixels should match the right-most 16×16 pixels. That way, when the movement reaches the end of the image and loops back to the start, the transition will be seamless.

nextfolder: This will hardcode a folder for the system to play next. This overrides the shuffle mode, and can accidentally be used to make the system cycle between two folders indefinitely, so just be aware of it. There is also another method of creating folder sequences called numerical nesting.

There is further discussion of CONFIG.INI in this forum thread.

back to top

Can you explain the playback modes?

PlaybackSequential: This plays back image folders in the order they were written to the microSD card. To be clear, this is not alpha-numeric sorting based on the filenames. The way to control this order is to copy all of your media to a folder on your computer (including /00system), format the microSD in FAT32, and then copy the media onto the microSD in the order you want them to appear.

Shuffle: This will shuffle the folders. It uses a nice random number generator so that every time you turn the device on it will show a different image.

Pause: This is really a pause-shuffle. It’s the same as the shuffle mode above, but only shows the first frame (i.e. 0.bmp) of any image sequence and pauses any lateral animation in the folder’s config.ini file. This is useful if the Game Frame animations become too distracting in work or more subdued environments and you just want still artwork displayed. Just be careful to note that if the first frame of animation is a blank screen, that’s exactly what you’ll see.

back to top